Learning Open3D→Tutorial→上級編→可視化のカスタム化
Customized Visualization
可視化のカスタム化
Open3Dの便利な視覚化関数draw_geometriesとdraw_geometries_with_custom_animationの使い方は簡単である。 すべてGUIで行うことができる。ビジュアライザー・ウィンドウ内でhを押すと、ヘルパー情報が表示される。 詳細については、 可視化の項を参照されたい。
このチュートリアルでは、より高度な機能に焦点を当てて、ビジュアライザー・ウィンドウの動作をカスタム化する。examples/Python/Advanced/customized_visualization.py から、次の例を試してみよう。
注意 作業(カレント)ディレクトリがexamples/Python/Advancedになっていることを確認すること
# Open3D: www.open3d.org
# The MIT License (MIT)
# See license file or visit www.open3d.org for details

# examples/Python/Advanced/customized_visualization.py

import os
import open3d as o3d
import numpy as np
import matplotlib.pyplot as plt

# (1) Mimic draw_geometries() with Visualizer class 1
def custom_draw_geometry(pcd):
    # The following code achieves the same effect as:
    # o3d.visualization.draw_geometries([pcd])
    vis = o3d.visualization.Visualizer()
    vis.create_window()
    vis.add_geometry(pcd)
    vis.run()
    vis.destroy_window()

# (2) Change field of view
def custom_draw_geometry_with_custom_fov(pcd, fov_step):
    vis = o3d.visualization.Visualizer()
    vis.create_window()
    vis.add_geometry(pcd)
    ctr = vis.get_view_control()
    print("Field of view (before changing) %.2f" % ctr.get_field_of_view())
    ctr.change_field_of_view(step=fov_step)
    print("Field of view (after changing) %.2f" % ctr.get_field_of_view())
    vis.run()
    vis.destroy_window()

# (3) Use callback functions 1
def custom_draw_geometry_with_rotation(pcd):

    def rotate_view(vis):
        ctr = vis.get_view_control()
        ctr.rotate(10.0, 0.0)
        return False

    o3d.visualization.draw_geometries_with_animation_callback([pcd],
                                                              rotate_view)

# (4) Mimic draw_geometries() with Visualizer class 2
def custom_draw_geometry_load_option(pcd):
    vis = o3d.visualization.Visualizer()
    vis.create_window()
    vis.add_geometry(pcd)
    vis.get_render_option().load_from_json("../../TestData/renderoption.json")
    vis.run()
    vis.destroy_window()

# (5) Use callback functions 2
def custom_draw_geometry_with_key_callback(pcd):

    def change_background_to_black(vis):
        opt = vis.get_render_option()
        opt.background_color = np.asarray([0, 0, 0])
        return False

    def load_render_option(vis):
        vis.get_render_option().load_from_json(
            "../../TestData/renderoption.json")
        return False

    def capture_depth(vis):
        depth = vis.capture_depth_float_buffer()
        plt.imshow(np.asarray(depth))
        plt.show()
        return False

    def capture_image(vis):
        image = vis.capture_screen_float_buffer()
        plt.imshow(np.asarray(image))
        plt.show()
        return False

    key_to_callback = {}
    key_to_callback[ord("K")] = change_background_to_black
    key_to_callback[ord("R")] = load_render_option
    key_to_callback[ord(",")] = capture_depth
    key_to_callback[ord(".")] = capture_image
    o3d.visualization.draw_geometries_with_key_callbacks([pcd], key_to_callback)

# (6)
def custom_draw_geometry_with_camera_trajectory(pcd):
    custom_draw_geometry_with_camera_trajectory.index = -1
    custom_draw_geometry_with_camera_trajectory.trajectory =\
            o3d.io.read_pinhole_camera_trajectory(
                    "../../TestData/camera_trajectory.json")
    custom_draw_geometry_with_camera_trajectory.vis = o3d.visualization.Visualizer(
    )
    if not os.path.exists("../../TestData/image/"):
        os.makedirs("../../TestData/image/")
    if not os.path.exists("../../TestData/depth/"):
        os.makedirs("../../TestData/depth/")

    def move_forward(vis):
        # This function is called within the o3d.visualization.Visualizer::run() loop
        # The run loop calls the function, then re-render
        # So the sequence in this function is to:
        # 1. Capture frame
        # 2. index++, check ending criteria
        # 3. Set camera
        # 4. (Re-render)
        ctr = vis.get_view_control()
        glb = custom_draw_geometry_with_camera_trajectory
        if glb.index >= 0:
            print("Capture image {:05d}".format(glb.index))
            depth = vis.capture_depth_float_buffer(False)
            image = vis.capture_screen_float_buffer(False)
            plt.imsave("../../TestData/depth/{:05d}.png".format(glb.index),\
                    np.asarray(depth), dpi = 1)
            plt.imsave("../../TestData/image/{:05d}.png".format(glb.index),\
                    np.asarray(image), dpi = 1)
            #vis.capture_depth_image("depth/{:05d}.png".format(glb.index), False)
            #vis.capture_screen_image("image/{:05d}.png".format(glb.index), False)
        glb.index = glb.index + 1
        if glb.index < len(glb.trajectory.parameters):
            ctr.convert_from_pinhole_camera_parameters(
                glb.trajectory.parameters[glb.index])
        else:
            custom_draw_geometry_with_camera_trajectory.vis.\
                    register_animation_callback(None)
        return False

    vis = custom_draw_geometry_with_camera_trajectory.vis
    vis.create_window()
    vis.add_geometry(pcd)
    vis.get_render_option().load_from_json("../../TestData/renderoption.json")
    vis.register_animation_callback(move_forward)
    vis.run()
    vis.destroy_window()


if __name__ == "__main__":
    pcd = o3d.io.read_point_cloud("../../TestData/fragment.ply")

    print("1. Customized visualization to mimic DrawGeometry")
    custom_draw_geometry(pcd)

    print("2. Changing field of view")
    custom_draw_geometry_with_custom_fov(pcd, 90.0)
    custom_draw_geometry_with_custom_fov(pcd, -90.0)

    print("3. Customized visualization with a rotating view")
    custom_draw_geometry_with_rotation(pcd)

    print("4. Customized visualization showing normal rendering")
    custom_draw_geometry_load_option(pcd)

    print("5. Customized visualization with key press callbacks")
    print("   Press 'K' to change background color to black")
    print("   Press 'R' to load a customized render option, showing normals")
    print("   Press ',' to capture the depth buffer and show it")
    print("   Press '.' to capture the screen and show it")
    custom_draw_geometry_with_key_callback(pcd)

    print("6. Customized visualization playing a camera trajectory")
    custom_draw_geometry_with_camera_trajectory(pcd)
Mimic draw_geometries() with Visualizer class
Visualizerクラスによるdraw_geometries関数の模倣
examples/Python/Advanced/customized_visualization.pyの最初の関数:
# (1) Mimic draw_geometries() with Visualizer class 1
def custom_draw_geometry(pcd):
    # The following code achieves the same effect as:
    # o3d.visualization.draw_geometries([pcd])
    vis = o3d.visualization.Visualizer()
    vis.create_window()
    vis.add_geometry(pcd)
    vis.run()
    vis.destroy_window()
この関数は、便利な関数draw_geometriesとまったく同じ機能をもつ。

クラスVisualizerには、ViewControlやRenderOptionなどの変数がいくつかある。 次の関数は、jsonファイルに保存されている定義済みのRenderOptionを読むものである。
examples/Python/Advanced/customized_visualization.pyの4番目の関数:
# (4) Mimic draw_geometries() with Visualizer class 2
def custom_draw_geometry_load_option(pcd):
    vis = o3d.visualization.Visualizer()
    vis.create_window()
    vis.add_geometry(pcd)
    vis.get_render_option().load_from_json("../../TestData/renderoption.json")
    vis.run()
    vis.destroy_window()
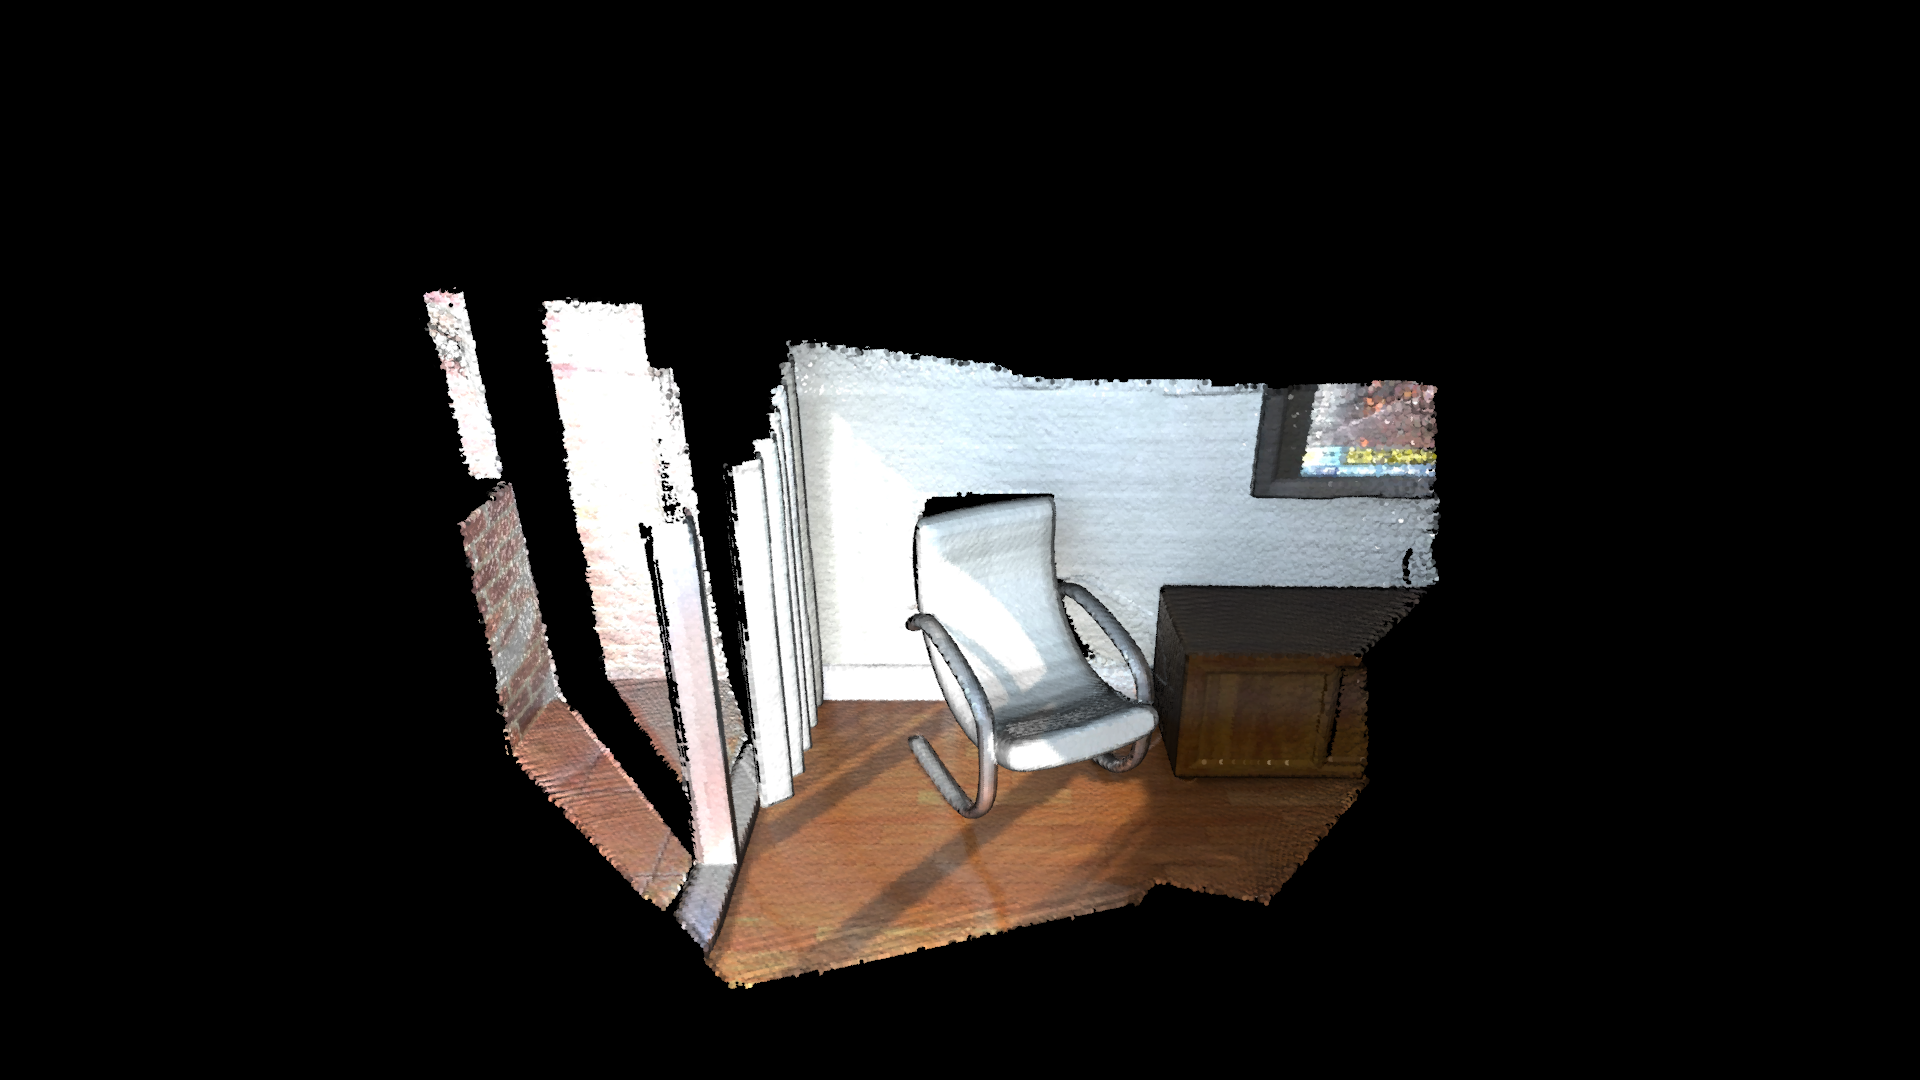
その出力:

Change field of view
視野の変更
カメラの視野を変更するには、最初にビジュアライザー・コントロールのインスタンスを生成する必要がある。そしてchange_field_of_viewを使用する。
examples/Python/Advanced/customized_visualization.pyの2番目の関数:
# (2) Change field of view
def custom_draw_geometry_with_custom_fov(pcd, fov_step):
    vis = o3d.visualization.Visualizer()
    vis.create_window()
    vis.add_geometry(pcd)
    ctr = vis.get_view_control()
    print("Field of view (before changing) %.2f" % ctr.get_field_of_view())
    ctr.change_field_of_view(step=fov_step)
    print("Field of view (after changing) %.2f" % ctr.get_field_of_view())
    vis.run()
    vis.destroy_window()
視野は$[5,90]$度で設定できる。change_field_of_view関数は、指定されたFoV(Field of View, 視野)を現在のFoVに追加することに注意しよう。 デフォルトでは、ビジュアライザーのFoVは60度である。 次のコードを呼び出すと、デフォルトの60度に指定した90度が足し算される:
custom_draw_geometry_with_custom_fov(pcd, 90.0)
ただし、これだと最大許容度の90度を超えるため、`FoV`値は90度に設定される.

次のコードは、デフォルトの60度から$-90$度を引くと最小のFoVよりも小さくなるため、FoV値は最小の5度になる。
custom_draw_geometry_with_custom_fov(pcd, -90.0)
その結果:

# (3) Use callback functions 1
def custom_draw_geometry_with_rotation(pcd):

    def rotate_view(vis):
        ctr = vis.get_view_control()
        ctr.rotate(10.0, 0.0)
        return False

    o3d.visualization.draw_geometries_with_animation_callback([pcd],
                                                              rotate_view)
関数draw_geometries_with_animation_callbackは、コールバック関数rotate_viewをメインループのアイドル関数として登録する。 ビジュアライザーがアイドル状態になると、x軸に沿ってビューが回転する。 これはつまりアニメーションの動作を定義しているのである。

examples/Python/Advanced/customized_visualization.pyの5番目の関数:
# (5) Use callback functions 2
def custom_draw_geometry_with_key_callback(pcd):

    def change_background_to_black(vis):
        opt = vis.get_render_option()
        opt.background_color = np.asarray([0, 0, 0])
        return False

    def load_render_option(vis):
        vis.get_render_option().load_from_json(
            "../../TestData/renderoption.json")
        return False

    def capture_depth(vis):
        depth = vis.capture_depth_float_buffer()
        plt.imshow(np.asarray(depth))
        plt.show()
        return False

    def capture_image(vis):
        image = vis.capture_screen_float_buffer()
        plt.imshow(np.asarray(image))
        plt.show()
        return False

    key_to_callback = {}
    key_to_callback[ord("K")] = change_background_to_black
    key_to_callback[ord("R")] = load_render_option
    key_to_callback[ord(",")] = capture_depth
    key_to_callback[ord(".")] = capture_image
コールバック関数は、キー・イベントに登録できる。 このコードは4つのキーを登録している。 たとえば、Kを押すと背景色が黒に変わる。以下はKを押したときの図

Capture images in a customized animation
カスタム化したアニメーションにおける画像のキャプチャ
examples/Python/Advanced/customized_visualization.pyの6番目の関数:
# (6) Capture images in a customized animation
def custom_draw_geometry_with_camera_trajectory(pcd):
    custom_draw_geometry_with_camera_trajectory.index = -1
    custom_draw_geometry_with_camera_trajectory.trajectory =\
            o3d.io.read_pinhole_camera_trajectory(
                    "../../TestData/camera_trajectory.json")
    custom_draw_geometry_with_camera_trajectory.vis = o3d.visualization.Visualizer(
    )
    if not os.path.exists("../../TestData/image/"):
        os.makedirs("../../TestData/image/")
    if not os.path.exists("../../TestData/depth/"):
        os.makedirs("../../TestData/depth/")

    def move_forward(vis):
        # This function is called within the o3d.visualization.Visualizer::run() loop
        # The run loop calls the function, then re-render
        # So the sequence in this function is to:
        # 1. Capture frame
        # 2. index++, check ending criteria
        # 3. Set camera
        # 4. (Re-render)
        ctr = vis.get_view_control()
        glb = custom_draw_geometry_with_camera_trajectory
        if glb.index >= 0:
            print("Capture image {:05d}".format(glb.index))
            depth = vis.capture_depth_float_buffer(False)
            image = vis.capture_screen_float_buffer(False)
            plt.imsave("../../TestData/depth/{:05d}.png".format(glb.index),\
                    np.asarray(depth), dpi = 1)
            plt.imsave("../../TestData/image/{:05d}.png".format(glb.index),\
                    np.asarray(image), dpi = 1)
            #vis.capture_depth_image("depth/{:05d}.png".format(glb.index), False)
            #vis.capture_screen_image("image/{:05d}.png".format(glb.index), False)
        glb.index = glb.index + 1
        if glb.index < len(glb.trajectory.parameters):
            ctr.convert_from_pinhole_camera_parameters(
                glb.trajectory.parameters[glb.index])
        else:
            custom_draw_geometry_with_camera_trajectory.vis.\
                    register_animation_callback(None)
        return False

    vis = custom_draw_geometry_with_camera_trajectory.vis
    vis.create_window()
    vis.add_geometry(pcd)
    vis.get_render_option().load_from_json("../../TestData/renderoption.json")
    vis.register_animation_callback(move_forward)
    vis.run()
    vis.destroy_window()
この関数は、カメラの軌跡を読み込み、次にそのカメラの軌跡に沿って移動するためmove_forwardというアニメーション関数を定義している。 このアニメーション関数では、Visualizer.capture_depth_float_bufferとVisualizer.capture_screen_float_bufferをそれぞれ使用してカラー画像と深度画像の両方をキャプチャし、 それらをファイルに保存する。
取り込まれた画像シーケンス:

取り込まれた深さシーケンス:
